How to Read Your Architect’s Drawings
You can learn what the symbols mean. There are guides for that, mostly written for students and construction professionals, and they’re fine.
But if you’re a homeowner holding a set of drawings for your own house, symbol literacy isn’t your problem. Your problem is judgement: is this the house you asked for, does it work the way you live, and is there anything in here you’d regret once it’s built? That’s a different skill, and it’s the one worth having.
This article covers enough of the basics to navigate a set, then spends most of its time on what to actually look for — drawing by drawing — and when to stop and get someone else to look.
Three things before you start
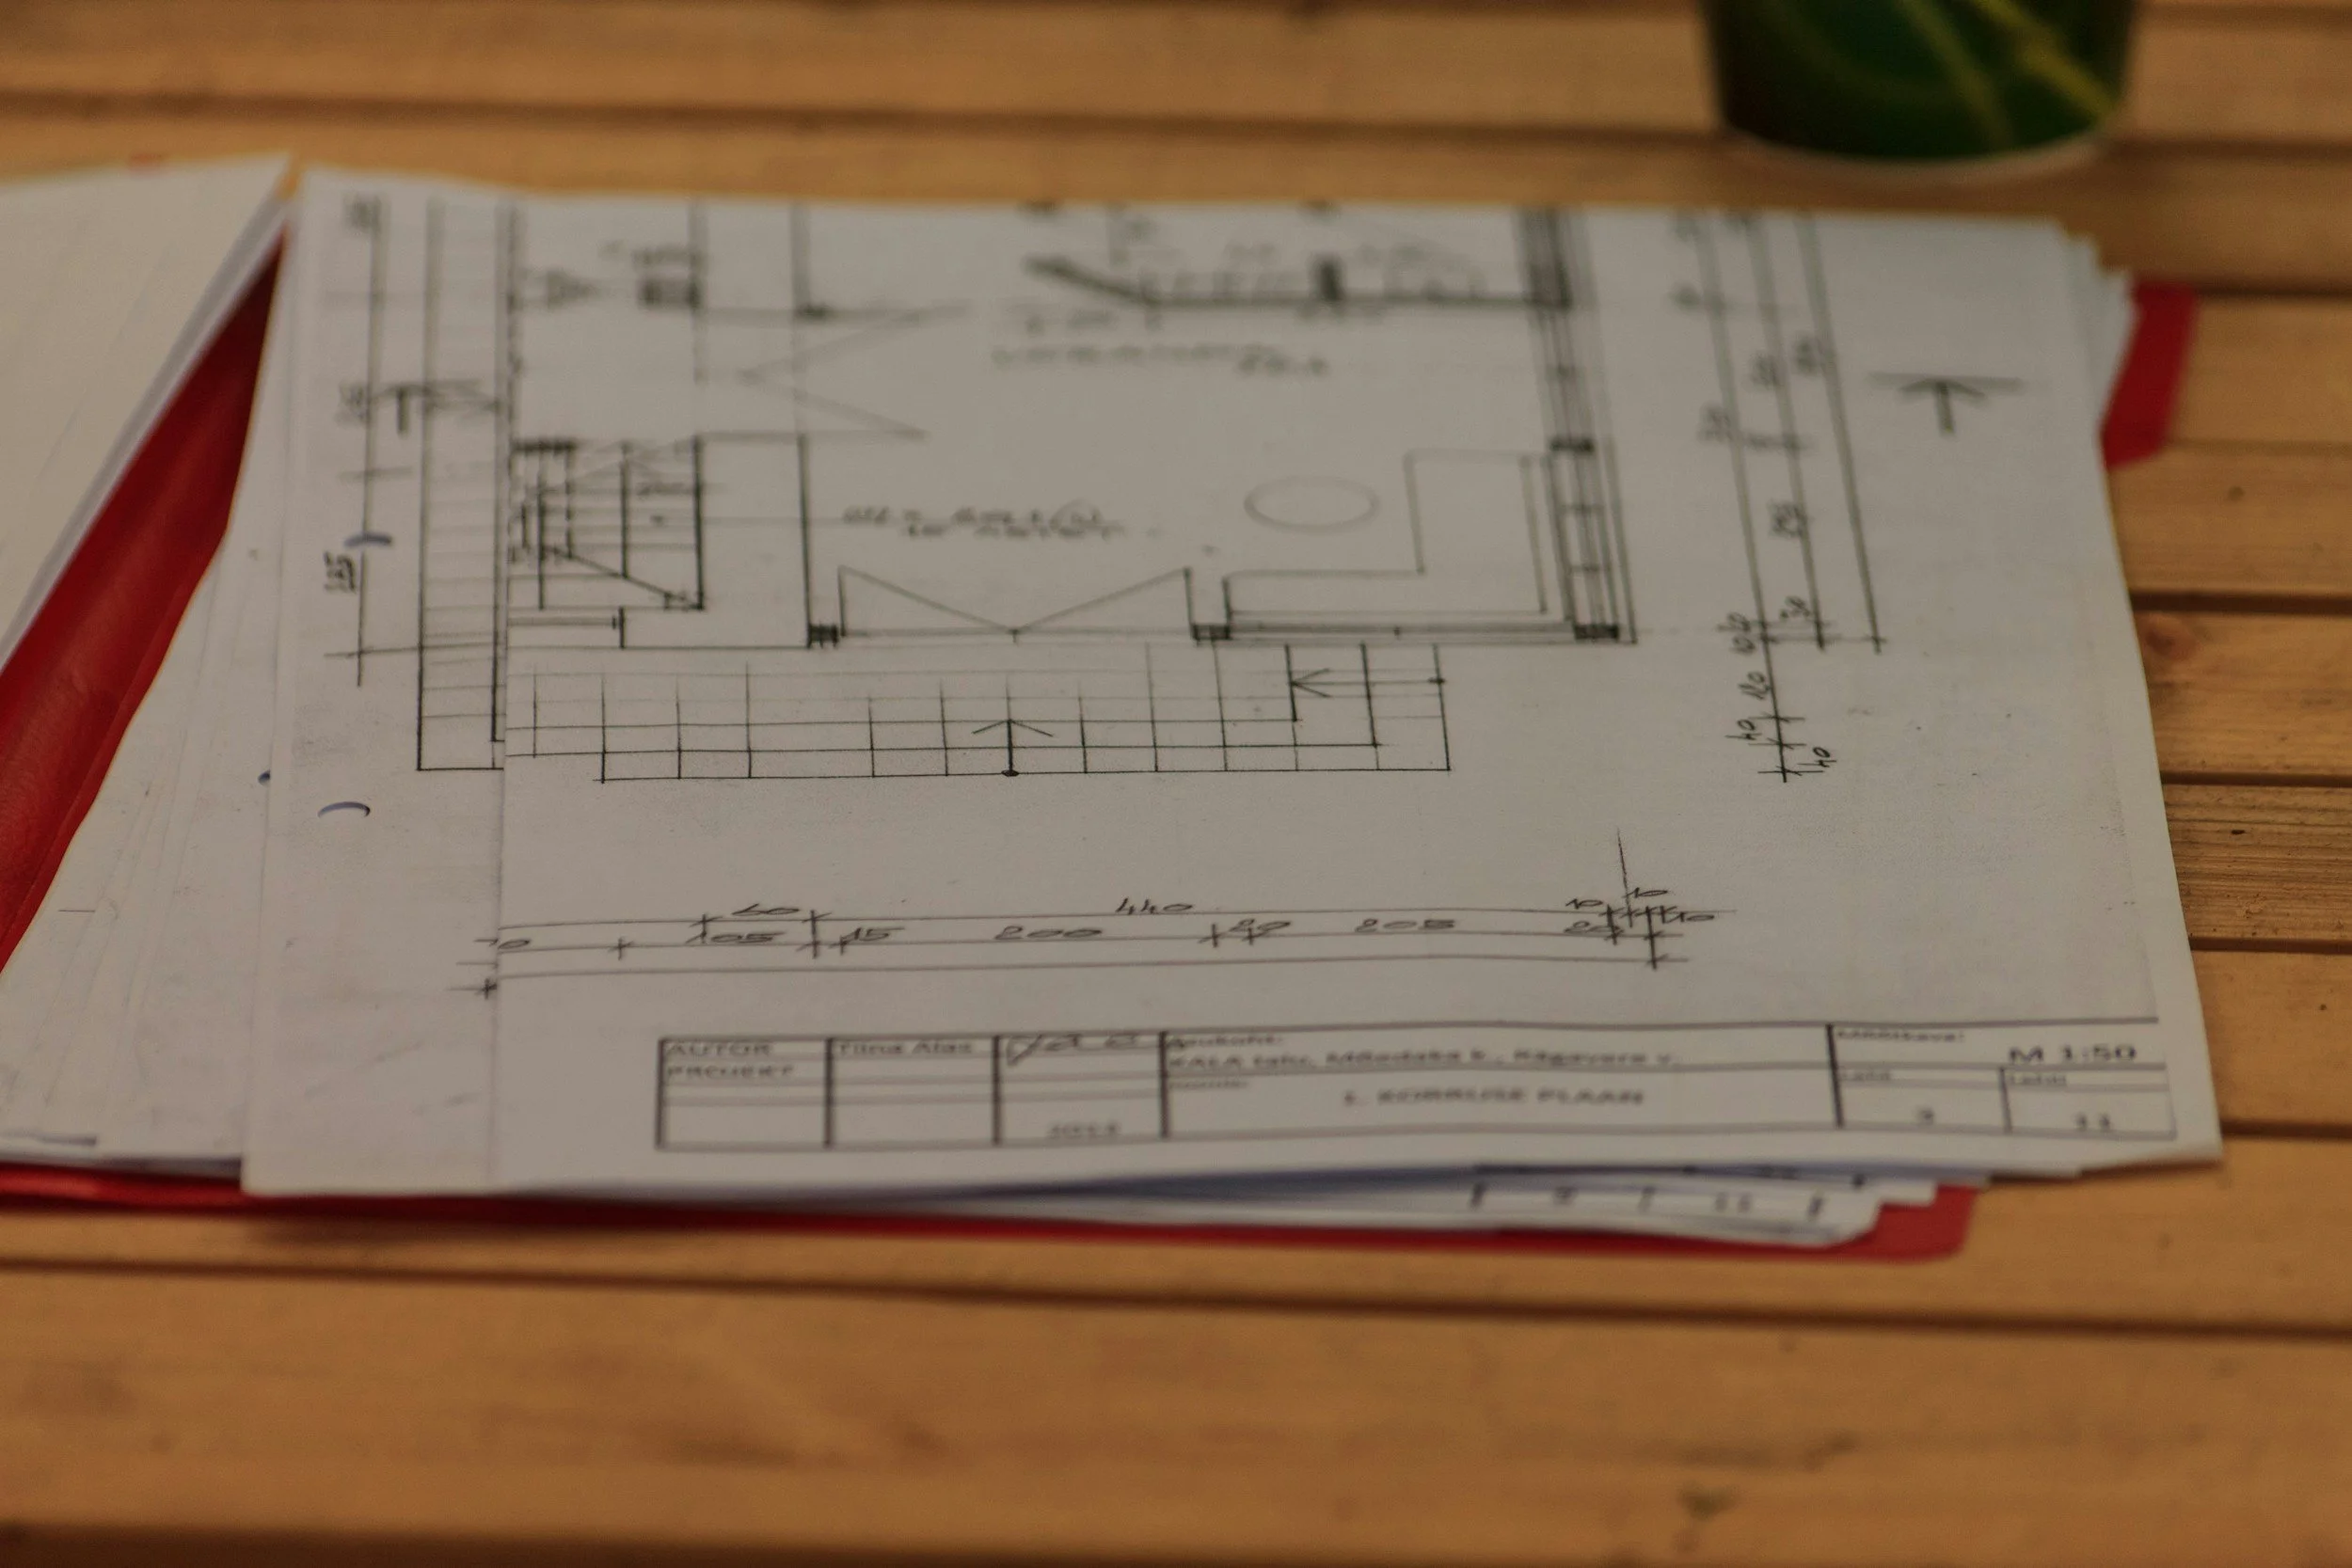
Print them. This is the single most useful piece of advice in the article. Architects review on screen because we stare at drawings all day and have the conventions internalised. You don’t. Printed sheets are dramatically easier to read, compare, and annotate, and you’ll catch things on paper you’d scroll past on screen. Full-size sheets are ideal. Scaled-down prints work in a pinch.
Buy a scale ruler. They cost very little and they make the drawings usable. Every drawing is at a stated scale — 1:50, 1:100, ¼" = 1'-0" — and with the right ruler you can measure anything on the sheet directly. Without one you’re trusting the dimensions that happen to be written down, which is a fraction of what’s there.
Buy an architect’s scale. They cost very little and they make the drawings usable. Every drawing is at a stated scale — ¼" = 1'-0", ⅛" = 1'-0", ½" = 1'-0" — and with the right edge on the scale you can measure anything on the sheet directly. Without one you’re trusting the dimensions that happen to be written down, which is a fraction of what’s there.
Check the sheet size before printing. The scale only holds if the sheet prints at its intended size. Residential sets are usually issued at 24×36 (ARCH D). Print that on letter size and every measurement you take will be wrong. The title block states the size.
If full-size printing isn’t practical, talk to the print shop rather than just shrinking the file. They can print half-size to a known ratio — a 24×36 sheet at 12×18 (ARCH B) puts a ¼" = 1'-0" drawing at a true ⅛" = 1'-0", which your architect’s scale can still read directly. Ask them to confirm the output ratio so you know which edge to measure against. A drawing reduced by an unknown amount is one you can’t measure at all, which costs you most of the value of printing it.
The site plan: where the house actually sits
The site plan shows your property and the building on it. Three things to check.
Position relative to the property lines. Where the house sits in relation to each boundary — which is also what determines compliance with setbacks. Measure it. This is the drawing where “it looked bigger in my head” gets resolved.
Driveway and access. How you get from the road to the house. Where it enters, what route it takes, how it handles any grade. On sloped or awkward sites this is more consequential than people expect, and it’s easy to approve without really looking at it.
Parking. How many spaces, where they sit, and how you get from a parked car to the front door carrying shopping in the rain. It’s the most routine journey in the house and it’s frequently the least considered.
Floor plans: how you’ll actually live
This is the drawing you’ll spend the most time with, and the one where your judgement is worth most — you know how you live, the architect is inferring it.
Room sizes. Measure them with the scale ruler rather than reading the labels. A room’s name tells you nothing about whether it’s big enough for what you’ll put in it.
Furniture. Plans should include furniture layouts. If yours don’t, do it yourself — sketch in the bed, the sofa, the dining table at the size you actually own. Where does the TV go, and what are you sitting on to watch it? Does the dining table fit with chairs pulled out and someone walking behind them?
Doors. Which way they swing, what they block when open, and whether two doors conflict. Easy to miss on paper, impossible to ignore once built.
Windows. Where they are, what they look onto, how much wall they leave you. A wall with a window in the middle is a wall you can’t put a wardrobe against.
The entrance. What happens when you come through the front door with coats, bags and wet shoes. Where does any of it go?
Floor finishes. Usually noted on the plan. Worth checking where materials change and whether those transitions sit somewhere sensible.
Then walk the plan. Trace your actual routes: getting up and making coffee, carrying laundry, bringing shopping in, getting to the bathroom at night. Where the appliances sit, where the bins go, where you’d put the ironing board. The plan is a test of daily life and you’re the only one who can run it.
Elevations: read them for what they are
Elevations show each face of the building drawn flat. They’re where you check windows and roof.
Windows. Size, position, and proportion across each facade — and read them alongside the door and window schedule, because glazing is one of the more expensive line items in a build and the schedule is where the actual specification sits.
The roofline. Form, pitch, how it meets the walls, where the eaves land.
One important caveat. An elevation is an orthographic projection — every point drawn as if viewed straight on, with no perspective. You will never stand anywhere that the building looks like that. So don’t use elevations to judge how the house will look: proportions read differently in reality, and depth disappears entirely on an elevation.
For that, ask for 3D views. Any architect working in BIM can produce them easily, and that’s the drawing that answers “what will it actually look like.”
If you’ve been handed a set of drawings and you’re not sure what you’re approving, Office Hours is the place to start. A focused 45-minute conversation about your specific project: what to check, what’s missing, and what to take back to your architect — before you commit to anything or anyone. Free, no commitment, remote.
Sections: how the building is built
A section cuts vertically through the house to show construction. It’s more technical than the plans, but there’s a lot a non-specialist can take from it.
Look for the big systems: foundation type, wall construction, roof structure, floor build-ups, insulation, and finishes. You’re not checking these for correctness — that’s the engineer’s job. You’re checking that you understand what you’re buying and that it matches what you discussed.
Sections are also where ceiling heights live, and where the relationship between levels becomes visible in a way plans can’t show. If the house steps with a slope, or has a double-height space, the section is the drawing that explains it.
Interior elevations and detail plans: kitchens and bathrooms
These are usually produced for kitchens and bathrooms, and the right lens is entirely practical.
What do you see when you open the door? Where do the appliances sit, and is there worktop beside the oven to put a hot tray down? Which way does the shower door swing? Is there anywhere to put a towel within reach of the shower? Where are the mirrors, and is anyone lit from directly above?
These are the rooms with the most equipment per square foot and the most daily interaction. They repay close reading.
Electrical and lighting: think about use
Light fittings, their types and positions, and socket locations.
Sockets are the thing you’ll interact with constantly and the thing most people never check. Walk each room and ask where you’ll actually plug things in — bedside, desk, kitchen worktop, where the vacuum reaches, where you charge a phone. Then check whether there’s a socket there.
For lighting, think about what each room is for at different times of day, and whether a single ceiling fitting is really the answer.
Plumbing and mechanical: positions, not systems
You’re not reviewing the system design. You’re checking that key fixtures are where you expect: extractor fans, the cooker hood, sanitaryware positions, where mechanical equipment sits and whether it’s somewhere that will bother you.
The technical sheets you can’t really review
Some sheets are genuinely not for you, and it’s better to say so than to pretend otherwise.
Construction details show the build-up of specific junctions at large scale. You can’t evaluate these, but there is one useful signal: the more detail drawings a set contains and the more information they carry, the less the builder has to decide on site. Site decisions made without the full picture are how projects drift from what was designed.
The honest corollary: richer detail sets cost more in architect’s fees. That’s the trade-off, and it’s a real one — more documentation up front, less improvisation later.
Structural drawings show structural components only. More prominent in concrete systems than timber. Same situation: you’re not reviewing them, your engineer is.
The materials schedule lists every material and quantity. Less useful directly, though it’s increasingly possible to get an indicative cost estimate from one using online tools or AI. Treat anything that produces as a rough order of magnitude only — a general contractor will price against site conditions, access, logistics and schedule, none of which are in the schedule.
Is this set complete? It depends what you bought
The most common anxiety is whether something’s missing. The honest answer is that it depends which set you commissioned, and the two are very different things.
A permit set is the drawings needed to obtain approval: plans, elevations, sections, some generic details, possibly a materials list, possibly electrical. In most standard jurisdictions that’s sufficient to get a permit. In coastal zones, heritage areas, high-wind regions and similar, it isn’t close — those jurisdictions require far more.
A construction set contains everything in a permit set plus the detail, specification and coordination needed to actually build from. Considerably more drawing, considerably more cost.
So “is anything missing” is really “does this match the scope I’m paying for.” Check your agreement. A permit set isn’t incomplete because it lacks construction details — it was never meant to have them. But a permit set handed to a builder as if it were a construction set is a problem, because the gap gets filled on site by whoever’s standing there.
When to get a second opinion
Some of this you can do yourself. The spatial judgement — does this work for how we live — is genuinely yours to make and nobody can do it better.
Get outside eyes when: you can’t tell whether the set matches what you’re paying for; the technical sheets feel thin and you can’t judge whether that matters; you’re being asked to approve something you don’t understand; or you have a nagging sense that something’s off and can’t locate it.
That last one is worth taking seriously. Clients are often right that something’s wrong and wrong about what it is. A second reading usually finds it.
If you have drawings in front of you and want an independent read before you sign off, Office Hours is the place to start. A focused 45-minute conversation about your specific set: whether it matches the scope you’re paying for, what to check, and what to take back to your architect — before you commit to anything or anyone. Free, no commitment, remote.